synestizer
![]()
Synestizer
„Just open the window…” J.Cage and focus on listening to what emerges outside.
- Cage
„It’s time to open the digital window and listen colorwise.”
- Koenig
This document explains the idea and function of the synestizer project at synestizer.com and listentocolors.net.
A webapp to listen to the data flow of the camera-imagery.
What is a Synestizer? and what is listen to colors?
The word Synestizer is a portmanteau of synthesizer and synaesthesia. Synestizer sonifies live camera imagery, tickling the synapses between your ears and eyes.
Music visualisers and screensavers already translate sound into graphics.
Synestizer does the opposite, translating Red, Green and Blue values to sound.
For this effect, or let’s say „sense“, there are new methods and techniques explored, developed and spread online.
That’s why it is time to open the digital window and listen through it.
listen to colors (https://listentocolors.net) is the second prototype that came online in 2015 and is based on new sets of analysis and sound synthesis and has more midi-connectability, more detailed discription below.
Why?
Why not pimp out reality?
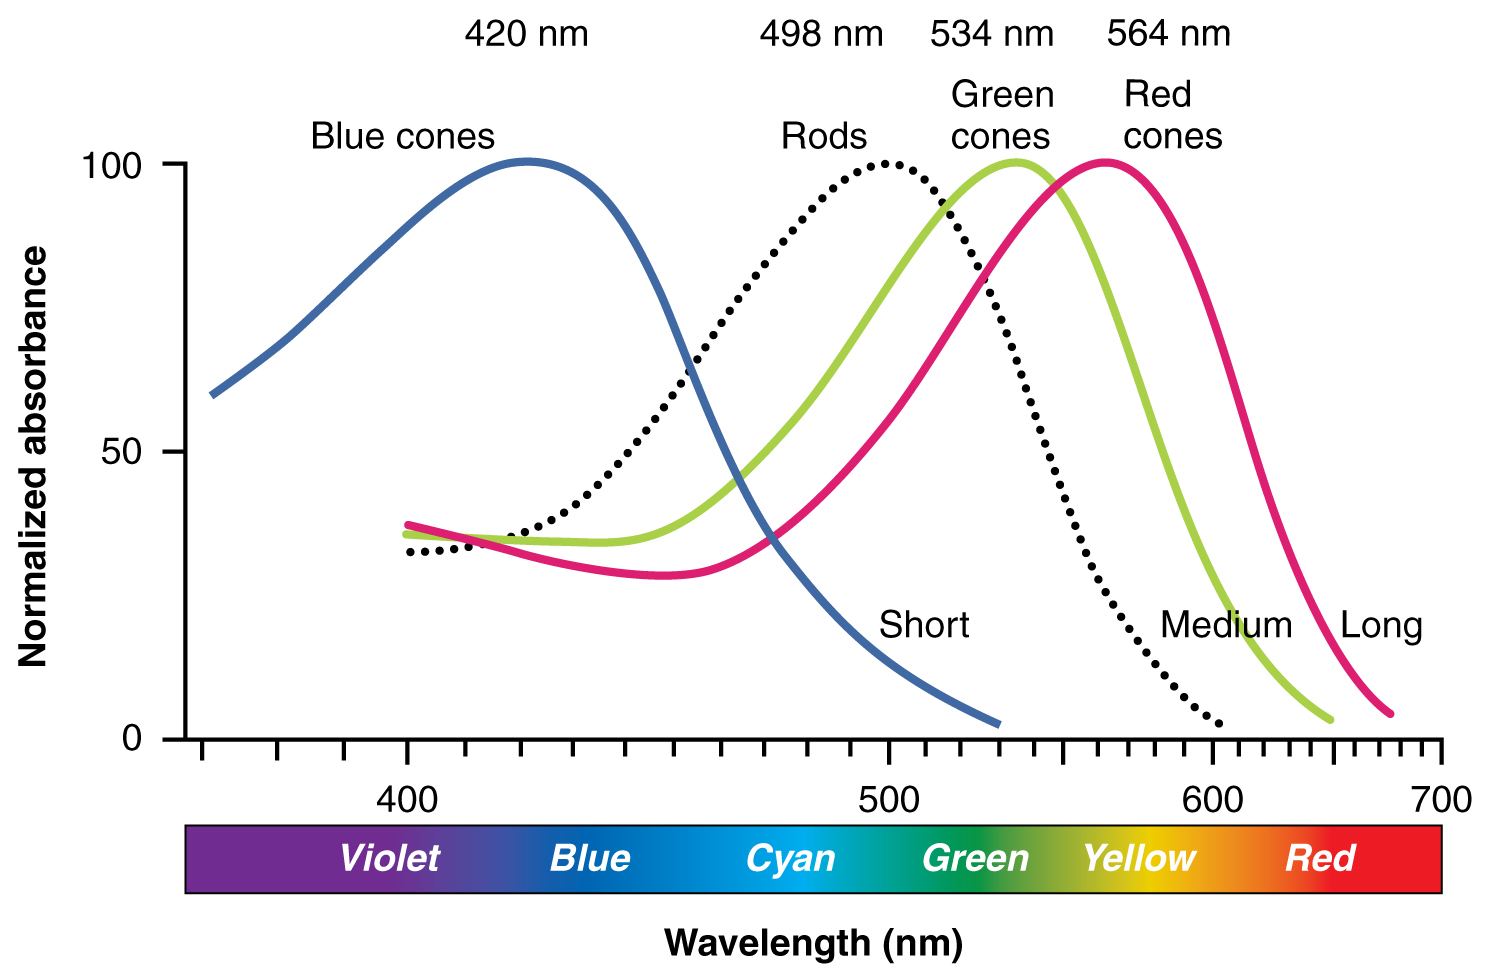
Since Cameras can measure Red Green Blue (RGB) values and its luminosity in given situations they correspond to the RGB sensitivity of the cones of the eyes. Since audible and visible frequencies differ in wavelength only, there might be a relation of some sort. The fascinating part of the synestizer is to come up with sonifying techniques to suggest an instant soundtrack matching exactly what you see in front of you right now. Imagining an induced synesthesia by technical means already on an average desk or pocket computer device.
Can this webapp contribute to the moment? Or at least extend the “obvious” with an interesting „odor” or an ambient-lighting but with audible means. In the future we might get used to an add-on sonification to our daily routines. Like a personal contextual-sound-DJ or as an automated soundtrack-maker for movies. Maybe just to pimp a daily situation or create an acoustic ambiance for a room.
A challenge for the synestizer-project is to generate ad-hoc compositions that are fitting to the situation you are or better said your camera is in, and on top surprise you again and again.
Who develops the synestizer?
Sound artist Kaspar König loves experimenting with analog and digital techniques to sonify the context imminently surrounding us.
His interest in interpreting colours, patterns, materials and most recently also wind as an actor to map sound lead to the development of the initial version of the synestizer.
Now the group is growing and there are new people interested in the project, and we have opened up the code to invite even more to join us.Users and artists are welcome to experiment with, and developers, to modify, this thing.
Synestizer is currently maintained by
- Dan MacKinlay (UNSW)
- Christoph Stähli
- Kaspar König (ZHdK)
Support has been provided by
- Sonic Sonic Skills research project at the Faculty of Arts and Social Sciences of Maastricht University, coordinated by Prof. Karin Bijsterveld.
- Prof. Peter Kiefer from the Johannes Gutenberg University in Mainz
- Prof. Florian Dombois and Prof. German Toro Perez from the ZHdK
- the „stichting de 4 koningen“
You can find our lectures/performances here.
Want to join us?
See github for the source code.
Ideas or interest in participation? Just write us an email at synestizer@gmail.com
Privacy
Although you have to accept the use of the camera and microphone in the browser, we do not collect or receive any data from it.
You can verify this watching network traffic to our servers - there isn’t any.
Or inspect the source code.
The sound and imagery is not captured.
The option of saving preferences or performances online at synestizer.com may be added in a future version.
We do use Google Analytics to set cookies to analyse the origin of viewers of the web-page. This information is not associated with user-name or any other usage information.
Listen to colors (LTC)
– this document is a description on the functionality of the website www.listentocolors.net
(documentation update 21th of may 2017)
LTC is part of the synestizer-project which is an artistic research about the relationship between sound synthesis and synaesthesia (chromesthesia). It models a technical relationship between webcam – live imagery in the (Y Cb Cr color model) and provokes customized related sound and midi-output.
introduction: This documentation describes in the first part merely a manual on how to use the LTC-website for different types of in- and output. The input consist in either build-in or external webcam, midi -(bus) input. The output consists in sound synthesis and midi note and control values. In the second part of the documentation a motivation for the project is described as well as an outlook for the future development of webapp-based vision and sound tools.
Kaspar König, Initiator, conceptdesign and project-lead Dan MacKinlay, coding, online-development and technical lead.
Christoph Stähli: coding of the www.synestizer.com project
Source code and projectdocumentation on https://github.com/synestize/synestize.github.io
Opening the website LTC in the Browser.
The Chrome browser of Google strives to be the most advanced browser for the time being and has capabilities that facilitates our project the best. However at this moment the “older” versions up to version 51 work best with our code. We strive to update our code to the newest version of Chrome which however implies leaving some features unsupported. (see bugs and beta). Upon opening the website, permission to use the webcam is popping up. Allowing the webcam to be enabled, you allow to actually go to the site and set the sound to work. If everything is correct, you can see the webcam image and hear a sound related to that. /see FAQ if not.
Performance-tab
The sound-synthesis is based on default settings which you can obviously set in the sound- and settingstab on top of the screen. However you land on the “performance” tab which you can return to anytime. Also the settings you change have an effect in this window. The Performance window is meant to be the window which you use when you want to have the least visual distraction of sliders and menus, e.g. when you want to use the LTC for a performance.
The About tab links you to the affiliated institutes and people that help to realize this experimental webapp.
Settings-tab
By opening the settings-tab in the upper bar, the website opens the parameter-settings for the algorithm. These Settings change values in the algorithm and are connected to the webcam input , the midi input and the midi output. In the left side of the page you encounter small green triangles that move. These is a registration of the input values of the specific visual values that are computed. These values are for instance Video Brightness, the change of the red values or the correlation between Red and blue and values that reflect the change of red-values towards up and down or left to right. The last set of values are especially sensitive to movement in front of the camera.
In the upper corner you find the following buttons Randomize _ sets a same “random” value to all in and outputs so you can check if data and sound flows through all instruments in the Sound-tab. Or midi output is generated.
Reset _ Sets the values back to the least amount and refreshes the page. Nuke _ Also refreshes the page, but then also cleaning up the data that might got stuck in the pipeline somewhere between webcam and speaker DNA _ this is a text with all current settings embedded and can be copied and pasted into a text-file that can be restored in the same way by copy and pasting it back in. Generally when you return to the page, settings are restored as used since the last time.
By clicking and sliding with the trackpad in one of the black bars in the Matrix you can edit the the values you want to connect. For instance the “video blue” value can be connected to the Signal Alfa by opening a triangle into the corresponding row and column of the matrix. Then you can set the dependencies by turning the nose of the triangle to your preferred site. This can be either increasing or decreasing the Alfa-value depending of the direction of the nose. You can see the output of the value on the top of the column of Signal Alfa. More-over you can make signal Alfa a composite of different values from the right input-column, so the signal could be added up with a midi-control-signal from the Midi In CC 1 for instance.
In the lowest part of this tab, you can add or remove midi channels. In the dropdown menu you find the IAC-driver-bus you want to send the midi-cc-signals through. This can be activated in your audio-midi-setup if not yet active.
With the amount of Signals you choose, you can create the amount of composite Signals- columns to be edited. This output-values symbolized again by the green triangles in the upper-part are then used in the sound-settings-tab.
Sound-tab
In the upper left corner you find the Master Gain and the Tempo slider. Also the Mute button mutes all instruments to 0 dB. The tempo generates the amount of impulses into the so called bubble chamber.
The bubble chamber calculates the Midi-note (not midi CC) out depending on the settings you make it depending on. For instance the Signal Alfa can be an “impuls-maker” for the bubble chamber. 3 “instruments” are related to the bubble chamber as Voice 1, Voice 2 and Bass. Voice 1 and 2 are sample-based instruments. The samples are in the dropdown menu directly next to the mute button and in a future one can upload or sample the sample straight into this instrument. (user 1-4)
The instrument-effects (delay, density, pattern, etc) can be all individually selected to perform like the input-value you set. The immediate value from the webcam can be chosen or the composite Signal can be selected. The range of the input can also be turned around by flipping the triangle in the other direction. Also the “sensitivity” or range of the values can be moved in moved in the slider.
Other webcam input
if you use an external usb-webcam you can actually change the input with the camera symbol in the adress-bar of the browser. A refresh is needed so the website can switch to the new input-camera. If you have other inputs like a usb-microscope this works in the same way. Also a wifi-webcam works if installed properly.
Midi input
midi input can be routed by the midi settings in your computer. To let it appear in the browser you need to have the same IAC-driver-bus activated.
Midi Output
the midi output is relayed through the same IAC-driver bus you choose as output bus. This works for most soundapplications straight away.
Multiple Tabs
to get a chorus of more then 1 LTC operational you can just open a new window in the browser and go again to the LTC website.
Connecting LTC to Synestizer.com
since the www.synestizer.com site is also able to accept midi input one can choose in the upper right corner the dropdown menu which is labeled midi controller
Edited by Kaspar König synestizer@gmail.com